Motorcycle owners find great joy in seeing their prized bike shiny and looking new after getting detailed. Owning a motorcycle is about embracing the ride, but keeping that ride in peak condition is another commitment.
Detailing a motorcycle goes beyond aesthetics; it’s about protecting your bike, extending its lifespan, maximizing performance and keeping its resale value high.
All this comes with a downside: the cost. Professional washing and detailing can set you back hundreds of dollars or more.
Using the right materials and guidance, you can restore your motorcycle to how it looked when you first purchased it. Let’s get started on how you can do that.
Key Takeaways
- Preparation is Key: Detailing a motorcycle requires careful planning—use a shaded area, select the right products, and gather essential tools for safe and effective cleaning.
- Use the Right Tools: Microfiber cloths, soft brushes, and motorcycle-safe cleaners prevent scratches and protect delicate parts.
- Follow a Step-by-Step Process: Starting with a prewash and working through wheels, controls, and engine cleaning ensures thorough detailing and long-lasting protection.
- Polish and Seal: Applying polish and a protective sealant adds a glossy finish and shields the motorcycle from UV damage, dirt, and moisture.
- Regular Cleaning Prevents Damage: Consistent detailing keeps grime and corrosion at bay, preserving your motorcycle’s appearance and function.
- Avoid Pressure Washing Sensitive Areas: Protect sensitive components like the engine and controls from the force of pressure washers to prevent damage.
- Sherpa Auto Transport for Shipping Needs: If you need to transport your detailed motorcycle, consider Sherpa Auto Transport for a secure and professional experience.
In This Guide:
- How to Wash and Detail a Motorcycle?
- Precautions for Detailing a Motorcycle
- Things to Consider Before Detailing a Motorcycle
- Why Detail Your Motorcycle?
- Tools For Detailing and Washing a Motorcycle
- How to Detail a Motorcycle at Home?
- Wherever You Go, Take Care of your Motorcycle
- Motorcycle Detailing FAQs
How to Wash and Detail a Motorcycle?
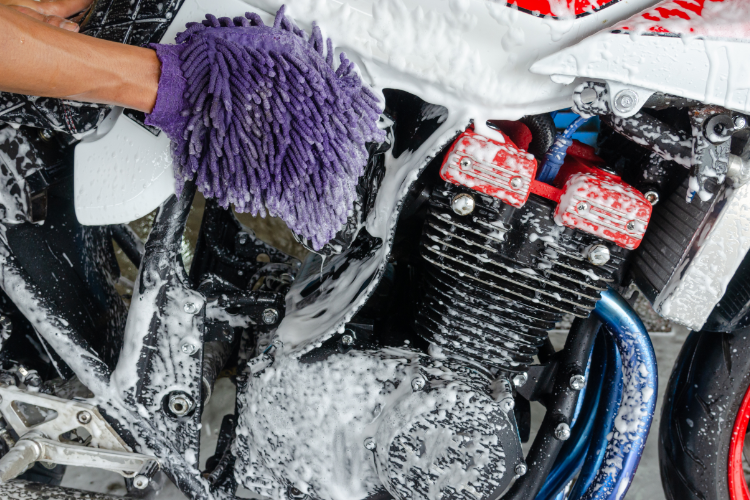
To detail a motorcycle, you must prepare your supplies (listed below). Once you are done with that, you’ll want to protect any components that water could damage.
Plug the exhaust pipes, remove the battery and cover the display and gauges.
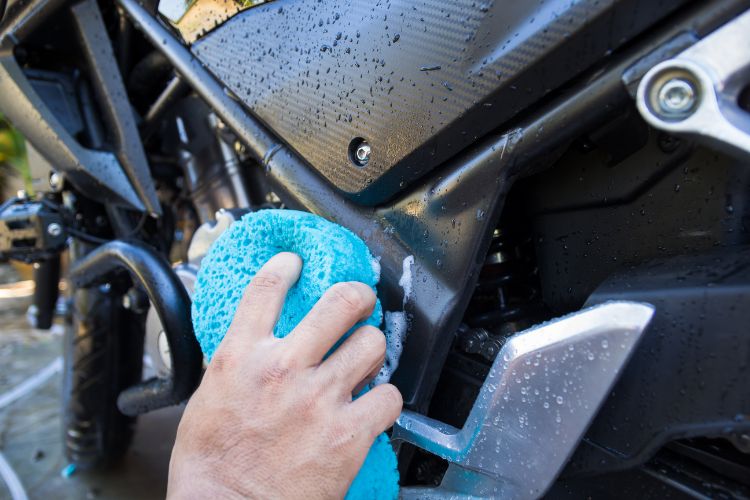
Your bike is ready for a thorough prewash, removing surface grime and large debris. Next, gently wash with soapy water and your wash mitt. Hose off all the soap and dry your motorcycle immediately to prevent water spots.
ProTip: Never spray down your motorcycle when the seat is removed. Doing so can damage sensitive wiring and electronic components.
Before cleaning your bike, make sure it’s fully dry. If equipped, remove the seat, trunk, bags and windshield according to your manual for easier access while detailing.
With prep work complete, it’s time to start detailing your bike. Check out the “How To Detail A Motorcycle at Home” for details.
Precautions for Detailing a Motorcycle
Even when you use the right materials, there are common errors you should avoid when detailing your motorcycle.
- Don’t use household degreaser products, as they can stain or strip paint off the bike.
- Don’t use coarse brushes or scrub pads.
- Don’t work in a sunny or damp area.
If you are considering buying a motorcycle, check out our blog on Top Motorcycle Brands and stay up to date with the latest models.
Things to Consider Before Detailing a Motorcycle
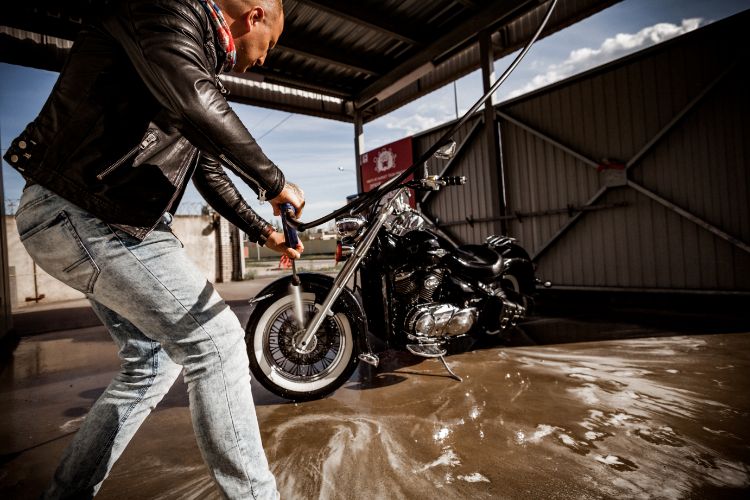
Since motorcycles have more exposed areas, those sensitive areas require more attention when compared to detailing a car.
Before you start, quickly skim through the pointers below:
- Work in a Cool, Shaded Area: Direct sunlight can cause streaking and water spots.
- Choose the Right Products: Not all cleaning products are suitable for motorcycles. Avoid harsh chemicals that can strip protective layers.
- Have Patience and Attention to Detail: Detailing a motorcycle means focusing on smaller components, so take your time to get every part.
Why Detail Your Motorcycle?
Detailing goes beyond basic maintenance and washing. It deeply cleans surfaces, removes contaminants, and restores cosmetics for a showroom-quality appearance.
Benefits include:
- Removes embedded dirt, grease, bugs, tar, and grime
- Protects against UV damage, rust, and oxidation
- Polishes away swirl marks, scratches and defects
- Waxes or seals for a glossy, slick finish
- Keeps components functioning optimally
- Assures safety by cleaning brakes, lights, mirrors etc.
- Provides thorough inspection while working
- Extends the life of plastics, paint, chrome, and metals
Learn more about the pros and cons of owning a motorcycle.
Tools For Detailing and Washing a Motorcycle
Having the right tools makes sure that your detailing process is thorough and safe for your motorcycle’s materials:
Basic Supplies
- Soft Wash Mitts or Microfiber Cloths: For gentle wiping and drying.
- Bucket and Grit Guard: Essential for washing without scratching the paint.
- Wheel Cleaner and Detailing Brushes: To reach small, delicate areas like wheels and spokes.
- pH Balanced Motorcycle Cleaner: Choose a gentle, pH-balanced cleaner or shampoo.
- Chain Cleaner and Lube: For cleaning and lubricating the chain.
- Polish and Wax Sealant: Adds a protective, glossy layer.
Additional Supplies
- Degreaser or all-purpose cleaner
- Foaming surface prep cleaner
- Pressure washer
- Blow dryer
How to Detail a Motorcycle at Home?
Follow this step-by-step guide detailing a motorcycle for that professional-grade shine from your garage.
Step 1: Prewash Exterior
Start by rinsing your motorcycle with light water spray to remove excess surface dust and dirt. Use a soap canon or foam sprayer to coat the bike with thick clinging suds if needed. This allows soaking and penetration before washing.
Step 2: Clean Wheels and Spokes
Spray wheel cleaner over the entire wheel/tire and allow it to soak briefly. Use a soft-bristled brush and wheel cleaner to scrub the wheels and spokes thoroughly. Rinse. Apply a foam tire cleaner to break down rubber stains and restore a dark black color. Pressure rinse tires as well.
Note: Clean the tires, which often have road grime buildup. Clean wheels improve your motorcycle’s appearance and protect them from damage.
Step 3: Wash Dash and Controls
Use a damp microfiber cloth with a mild cleaner for a clean dashboard. Wipe down the controls, switches, and handlebars, ensuring not to over-wet any part.
Step 4: Clean the Engine
Gently spray the engine with a degreaser, then clean it with a cloth. Avoid pressure washing here, as the force could damage smaller, delicate parts. For tough stains, use a brush to reach hard-to-clean areas.
Step 5: Degrease and Spot Clean
For any oily areas around the engine or chain not cleaned by washing, apply a citrus degreaser diluted 10:1. Agitate with a brush and rinse. Spray problem spots like bugs, tar, or grease with a multipurpose APC cleaner or adhesive remover—Scrub with a Boars hair brush. Rinse.
Step 6: Thoroughly Rinse
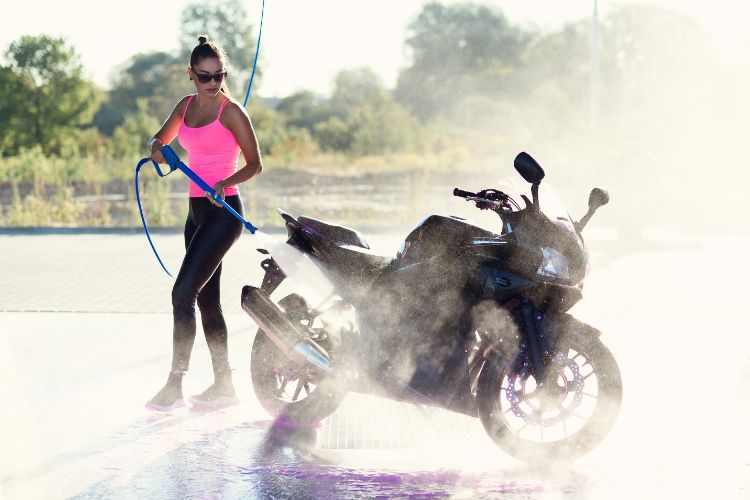
Pressure rinse the motorcycle once more to remove any leftover soap residue and lift additional dirt from crevices. This step is crucial, as leftover soap can lead to streaking and spots. Wheel wells, under the seat, and tight areas around fairings will need attention.
Step 7: Hand Dry or Use a Blowdryer
Carefully dry the entire motorcycle using a microfiber towel, paying close attention to hidden nooks and crannies where water may collect. A proper hand dryer prevents water spots and ensures all areas are moisture-free.
Use a blow dryer on a wand setting to thoroughly dry the motorcycle and crevices, starting with the tank and working your way down and around the components. Go back over areas with a microfiber towel to remove any remaining water spots.
Step 8: Polish and Buff
Apply polish to give your bike that deep, rich shine. Buff the paint with a clean cloth, moving in circular motions to achieve a smooth, scratch-free finish. For light oxidation or swirling on paint or plastic, use a polish by hand or with an orbital buffer. Work in small sections with foam pads.
For deeper defects, use a cutting compound before polishing. Take care around pinstriping or graphics. Test product compatibility first. Follow directions for application and removal.
Step 9: Apply Sealant
For the final touch, use a high-quality sealant or Wax to protect the paint from UV rays, dirt, and moisture. This will help your motorcycle maintain its pristine appearance and make future cleaning easier.
Apply a coat of high quality wax or paint sealant by hand or polisher. Use thin, even coats allowing proper curing time between. This protects paint and plastics while giving an incredible shine. Use a spray wax on chrome or metal components.
Tip: For extra protection, consider applying a ceramic coating. It’s pricier but offers long-lasting protection and an impressive gloss.
Step 10: Maintain
Regularly wash your bike by hand using proper techniques to avoid swirls. Wax or seal annually. Inspect and lube components. Repair any new chips, scratches etc. Keeping your bike detailed means you only need to do heavy corrections like claying every 2-3 years.
Learn more about how to store your motorcycle in winter.
Wherever You Go, Take Care of your Motorcycle
Another way to keep your bike in top shape is to leave it to professionals if you need it shipped. Suppose you’re moving or adding to your bike collection.
In that case, you can contact Sherpa Auto Transport for trusted motorcycle shipping services to be confident your ride arrives safely at its destination.
Motorcycle Detailing FAQs
How long does it take to detail a motorcycle?
Detailing a motorcycle can take 1 to 3 hours, depending on the level of detail you aim for.
Can you pressure wash a motorcycle?
While you can use a pressure washer for some areas, avoid using it near the engine, controls, or any exposed wiring, as this could damage sensitive parts.
What can happen if you don't clean a motorcycle?
Over time, dirt, salt, and grime can corrode metal parts and cause discoloration on paint and chrome. Regular cleaning helps protect your bike and ensures it looks and performs at its best.
How often should a motorcycle be deep cleaned?
Ideally, give your motorcycle a detailed clean every two to three months or more frequently if you’re riding in dusty or wet conditions.

